Sunday, September 4, 2011

Aston Martin DBS Build Journal Volume 2: Murphy's Law

We were fortunate to have an easy week at work.  Our team managed to finish all our tasks before the close of business last Friday afternoon allowing us to have a worry free weekend.  I used my free time to work on my DBS kit once again.  

I started the weekend working on the brake discs.  Painted each part individually, glued them together and applied the decals as per the instructions.  This task went fairly well.

Weird, this picture made the brake discs look like they were made of stone...
I moved on to assemble the engine and front suspension next.  Once again, I painted each part prior to assembly.  I find it much easier doing this since I need not worry smearing paint on adjacent parts unnecessarily.  


This kit came with a sheet of metal transfer for the lettering on the engine.  I’ve only worked with wet decals before and it’s the first time I’ve worked with these dry transfer sheets.  Just a brief explanation on the difference between decals and transfers for those who couldn't follow:

First wet decals, you will need to dip these in water for around 10 seconds, by then they could be slid from their backing sheets and positioned into place on the model.  You will need to dab the decal with a soft cloth or paper towel to remove the excess water and air bubbles.  It should set once everything is dry.

The dry transfers on the other hand, will require you to position the sheet on the location where you want the transfer to be placed.  You will then proceed to gently rub on the transparent film that is holding the transfers.  Once the metal transfer sticks to the model part, you will need to gently peel off the film.

I’ve read several anecdotes on the internet wherein some of the transfers fail to cling to the model.  It was quite disheartening to learn about this, especially for a first-timer.  I did manage to execute my task successfully and I did learn a few things about these transfers in the process.  Peeling the transparent film takes a lot of patience; I did mine one letter at a time.  Whenever I notice the transfer fail adhere to the model part, I would reset the backing film and rub on it again.

After all the decals and transfers were applied, the only thing left was to assemble the engine and suspension. Should be pretty straight forward...

"If anything can go wrong, it will..." – Murphy’s Law


Had another mishap in the process, I might have accidentally touched one of the break caliper decals while assembling the kit. The decal probably did not set properly and was sheared off when I unconsciously made contact with it.  This is my second decal incident encountered for this build.

I guess I have to call it quits for now and continue working on this car some other time.  I'll need to think on ways to salvage this project.  Until then...

Here is what was successfully completed this weekend...

Monday, August 29, 2011

Aston Martin DBS Build Journal Volume 1: Off to a Bad Start


Scale modelling has been one of my hobbies since my teens.  I’ve assembled several model kits throughout the years, ranging from cars, planes and military vehicles; all with varying results.  I have to admit I messed up quite a lot early on and built a few decent ones as my skills developed. At this point in time, I’ll probably classify myself somewhere between an intermediate and advanced modeller.  I still have a long way to go before being labelled an expert in this field, and have yet to make one product that I could really be proud of.  Problem with modelling is that it takes a lot of practice to improve one’s skills and with my office workload I rarely have time to indulge in this hobby of mine.

Today was a holiday and I had the opportunity to start working on my Aston Martin DBS kit.  I decided to do something simple first; assembling the wheels.  Pretty straightforward I should say, just pop in the rubber tires to the rims and we’re done.  It when I was applying decals to the wheel caps when things got frustrating.  I had a hard time setting the tiny Aston logos in place and it took me a while to finish the task. I also ended up ruining one of the decals in the process.  Not really a great way to start the project.

Damn those decals!  Wish they provided some spares.
I decided to do some painting next.  The model kit came with a sheet of pre-cut masking seal to be used for covering up parts of the windshields in preparation for spray painting.  After prepping the clear parts I went ahead with spraying the windshield trims, chassis, as well as a whole runner of parts in semi-gloss black.


This job went much smoother than my first task.  I decided to call it a night and quit while I’m ahead.  I had a tendency to mess up more often when rushing a project to completion.

What a relief! At least this one went well.
 More updates to come as I continue working on this car replica.

Friday, August 26, 2011

One Man's Trash is Another Man's Treasure

I recently found an old beat up Hasbro Transformer Alternators: Silverstreak figure.  The previous owner left it in a really sorry state.  Its paint job was scratched all over and some of its parts have already fallen off.  Under normal circumstances one wouldn't buy something in this condition. However, being cast from the same mold as Bluestreak, this guy had the right parts I needed to replace the broken hinge on my Binaltech figure.


 After a quick paint job, my Bluestreak is now completely refurbished.

As good as new. (Well almost...)
I can now officially conclude this restoration job.  But before I start working on my next project, I will leave you guys with a little Transformers trivia:

Hasbro and Takara often used the same car molds to produce several characters in their Transformers toy line.  Bluestreak and Silverstreak, however, were one and the same character. The name change was due to some trademark issue back then.  To add to the confusion, the original Hasbro G1 Bluestreak toy wasn’t even blue in the first place.

Baffled? Here are a couple of links to explain more about this Autobot’s colorful history.

Saturday, August 6, 2011

Bluestreak Repainted


Transformers Binaltech BT-19 Bluestreak
by Takara-Tomy
Paint: Tamiya Color TS-50 Mica Blue
Finish: Gunze Sangyo Mr. Hobby Topcoat - Gloss

I had the opportunity to finish my Bluestreak repaint today.  To be honest, I was a bit unsatisfied with the results.  However, I think it's still a decent attempt from someone who haven't been modeling for quite a while now.  I did accomplish my main goal of removing all of the scratches and the faded colors on the vehicle's body.

Here are some before and after pictures...


Unfortunately, as mentioned in one of my earlier posts, this Autobot will have to go into retirement and live the rest of its life as a display piece due to a cracked hinge on one of the rear doors.  I will, however, keep an eye out for people selling their broken toys. Who knows, maybe someday I'll find a suitable replacement part and truly be able to restore this Transformer to its former glory.

Sunday, July 31, 2011

Die-cast Door Dilemmas

It was one of those rainy Sunday afternoons again, so I've decided to stay home and work on my worn out Bluestreak figure.  I've chosen to keep the car’s original blue color and disregarded my initial ideas of doing a completely different paint job on this model. 

In preparation for the first coat of spray paint, I had to cover up the surfaces that I didn’t want painted over with some paper and tape.  While I was masking the vehicle, I noticed a crack on one of the rear door hinge. 

  
This reminded me of the broken door on my Aston Martin DB5. Although unlike the Aston, I don’t really see any other symptoms of a zinc pest attack on this car apart from the unexplained crack I just mentioned.  This may be a different case altogether; it is possible that the break was caused by  the repetitive “transformation” process from vehicle to robot mode and back.

I guess after I’m done giving this Transformer a new coat of paint, Bluestreak will really need to avoid converting to and from his various modes.  After all, we wouldn’t want his fresh paint to get scratched nor do we want his door to fall of completely.

Not quite done, but almost there...

Sunday, July 17, 2011

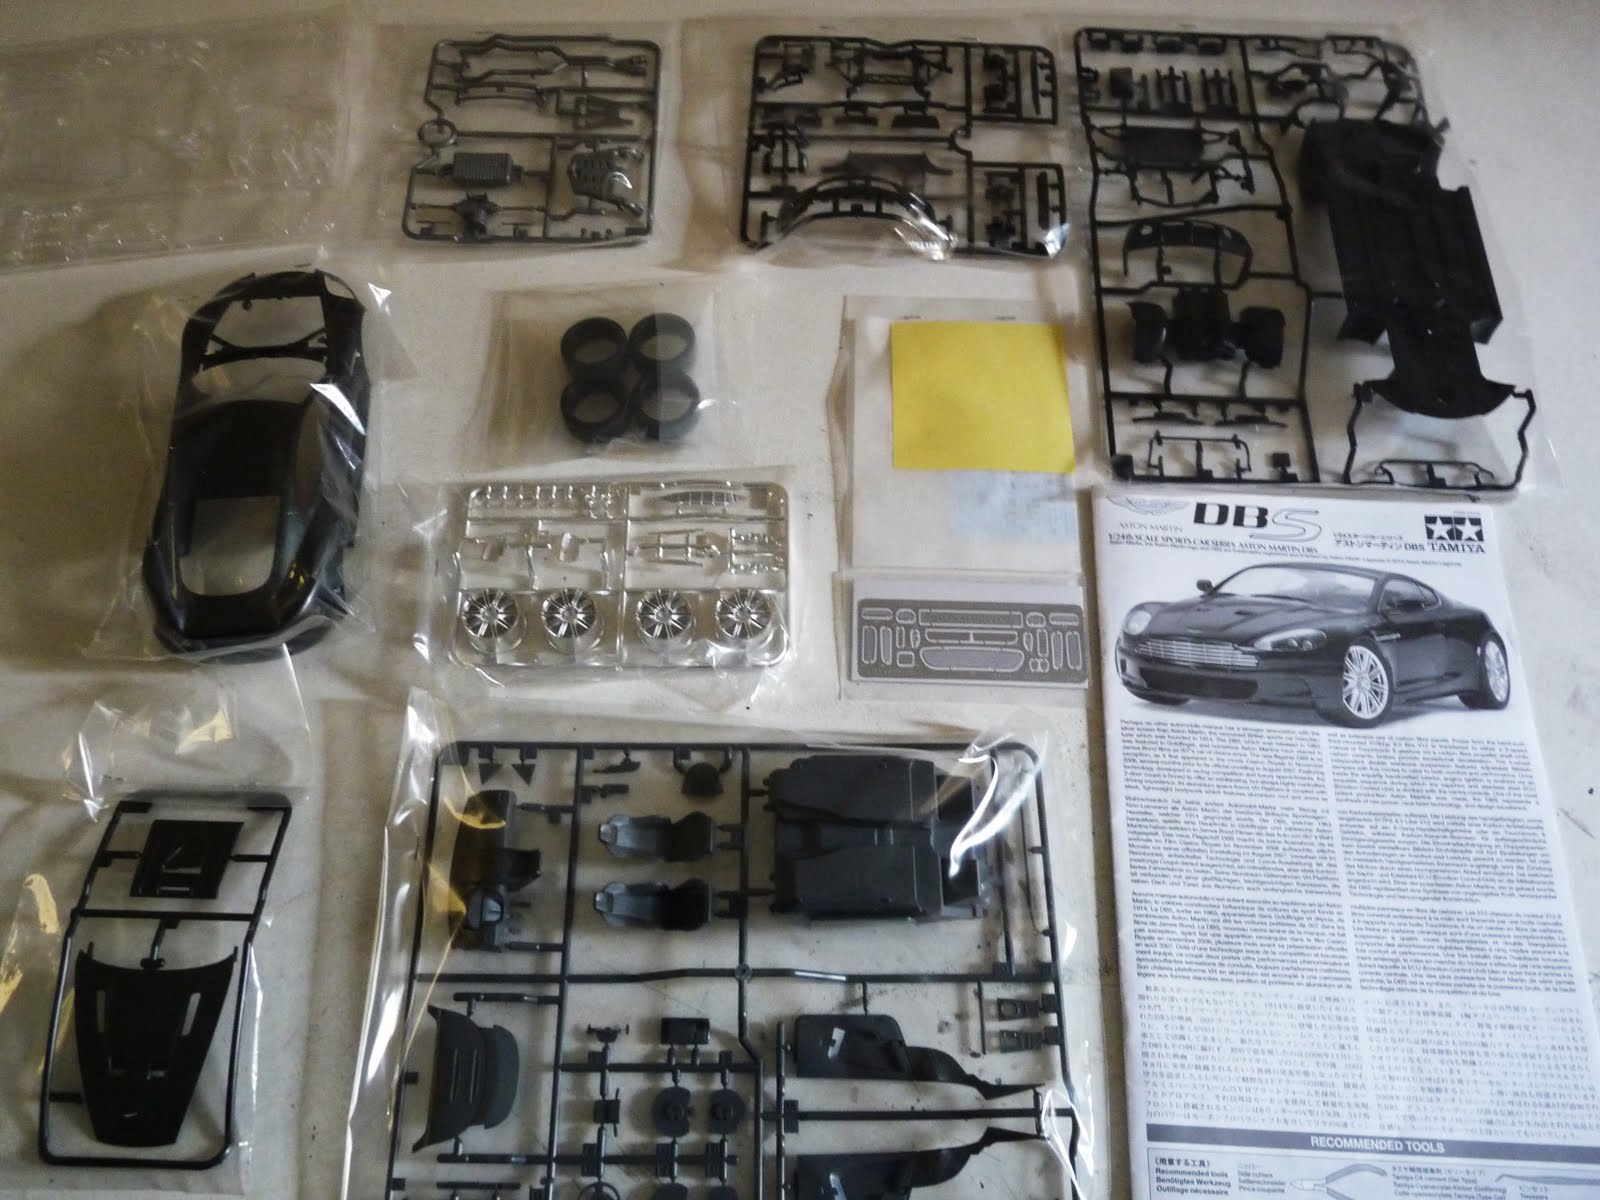
Tamiya Aston Martin DBS

I took a trip down to the nearest hobby shop today to get some canned paint for my Bluestreak restoration project.  

It's been a while since I got the chance to visit this store, mainly because I was away for several years and I haven't been modeling for some time now.  After browsing through the store's shelves I ended up purchasing a Tamiya 1/24 scale Aston Martin DBS car kit along with the paint I intended to buy. 

This car was featured in a couple of James Bond movies, “Casino Royale (2006)” and “Quantum of Solace (2008)".

Since I still have an ongoing project at the moment I'll be placing this one in storage for now.


Thursday, July 7, 2011

Reviving Bluestreak


What I've posted here are some pictures of my worn out Transformers Binaltech: Bluestreak figure by Takara Tomy.  For those who don't know, Binaltech is the Japanese version of Hasbro's Alternators toy line which were released roughly around 2003.  The main difference between the two is that the Japanese version had die-cast metal bodies while Hasbro's version were all in plastic.  Being die-cast, it is designed more for collection or display only and less of a toy.  The cars are presented in 1:24 scale and are highly detailed to match their real world counterparts.  Bluestreak's vehicle mode was based on a Subaru Impreza WRX. 


Contrary to what I've just mentioned just now, my Bluestreak had been played around quite a bit over the years thus resulting to its current sorry state.  There are numerous scratches all over the body.  Furthermore the color in other areas seemed to have faded away leaving the model with uneven shades of blue here and there.  Well today I've decided to attempt to give this car a new paint job.  I haven't quite decided if I'll keep its original blue color or go all out and custom paint it.

"You break it, I'll remake it" - Ratchet, Autobot Medic

Nevertheless, I've already began to disassemble the parts this evening in preparation for the upcoming task.  It'll probably be a while before I could fully restore this car mainly because I'm swamped with tons of work at the office lately.  I'll try not to let that hinder this project though.  Hope this paint job turns out okay. I'll post the "after" pics when I get things done.